


Milo of Croton Series, Part 3: Boosting Progress with Training Density
Building on our Milo of Croton Progressive Overload Training and Beginner Workout Program, we’re introducing a powerful but often overlooked principle: training density.
What Is Training Density?

Training density is the amount of work you complete in a specific period. For example, if you finish your full-body session in 40 minutes and lift a total of 10,000 pounds, that’s your density for the day. If you complete the same session in 38 minutes next week, your density—and your progress—has increased.
Why is this important? Improved density means you’re not just getting stronger; you’re becoming more efficient. Your body recovers faster, your conditioning improves, and you make the most of your training time.
How to Track and Implement Density

- Record your total training load (sets × reps × weight) and the time it takes to complete your workout.
- Aim to complete the same workout in less time—but never at the expense of good form.
- Decreasing the overall training time of a strength workout means reducing the rest time between sets.
- Another option to increase training density is to go from doing one exercise at a time and resting between each set to a circuit-style workout where you go from one exercise to the next with minimal rest time. Your workout can be 2 circuits: one with the Foundation 5 and one with the Finishing 5.
The Workout: Foundation 5 & Finishing 5
For the next 2–3 weeks, keep your exercises, sets, reps, and weights the same as in Milo Part 2, but reduce your rest between sets. Here’s your template:
The Foundation 5 (Compound Movements)

- Leg Press or Squat
- Chest Press or Bench Press
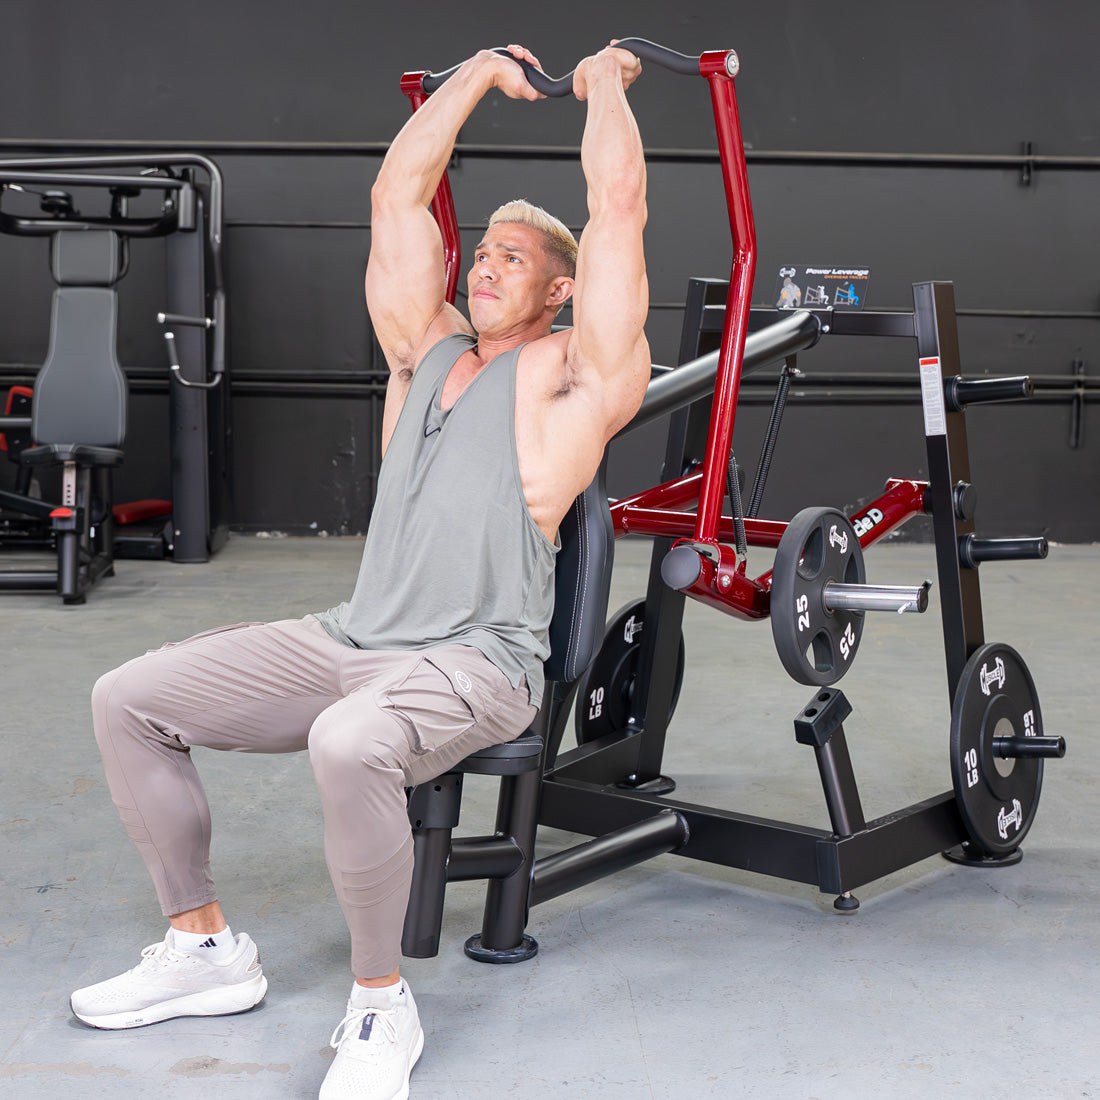
- Shoulder Press
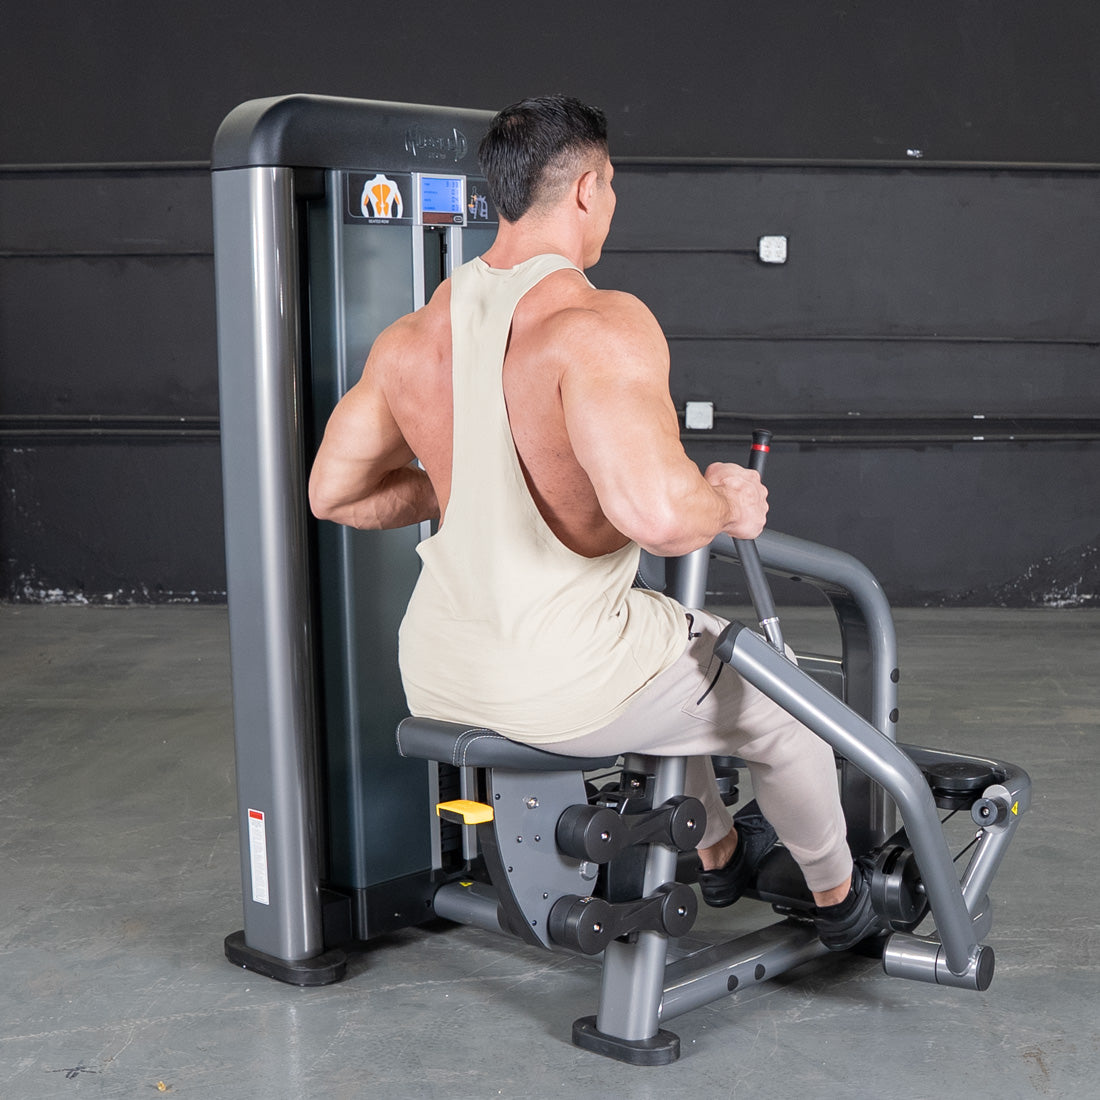
- Row (Free Weight, Cable, or Machine)
- Lat Pulldowns or Pull-Ups
The Finishing 5 (Isolation Movements)

- Biceps Curls
- Triceps Extensions
- Leg Extensions
- Leg Curls
- Abdominal Exercise
Prescription: 3 sets of 10 reps for each exercise, using the same weights as before.
How to Apply Training Density

- Week 1: Rest 90 seconds between sets
- Week 2: Rest 60 seconds between sets
- Optional Week 3: Rest 45 seconds if you can maintain perfect form
If your form suffers, stick with the longer rest until you’re ready. The goal is efficiency, not rushing.
Sample Log
| Exercise | Set 1 | Set 2 | Set 3 | Rest (Week 1) | Rest (Week 2) |
|---|---|---|---|---|---|
| Leg Press or Squat | 10 | 10 | 10 | 90 sec | 60 sec |
| Chest Press or Bench Press | 10 | 10 | 10 | 90 sec | 60 sec |
| Shoulder Press | 10 | 10 | 10 | 90 sec | 60 sec |
| Row | 10 | 10 | 10 | 90 sec | 60 sec |
| Lat Pulldown or Pull-Up | 10 | 10 | 10 | 90 sec | 60 sec |
| Biceps Curl | 10 | 10 | 10 | 90 sec | 60 sec |
| Triceps Extension | 10 | 10 | 10 | 90 sec | 60 sec |
| Leg Extension | 10 | 10 | 10 | 90 sec | 60 sec |
| Leg Curl | 10 | 10 | 10 | 90 sec | 60 sec |
| Abdominal Exercise | 10 | 10 | 10 | 90 sec | 60 sec |
Why This Works: A Real-Life Parallel
At Muscle D Fitness, we know that getting more done in less time isn’t just for the gym. Recently, our team faced a tight shipping deadline. Instead of working longer, we streamlined our processes and finished the same workload faster—without sacrificing quality. That’s the power of density, whether you’re training your body or running a business.
Takeaway
Progress isn’t always about heavier weights. By focusing on training density, you’ll build efficiency, resilience, and a stronger foundation for future gains. Stick with this plan for 2–3 weeks, then you’ll be ready for the next phase of your Milo of Croton journey.
Want a printable version of this template? Let us know in the comments.


Dejar un comentario
Todos los comentarios se revisan antes de su publicación.
Este sitio está protegido por hCaptcha y se aplican la Política de privacidad de hCaptcha y los Términos del servicio.