


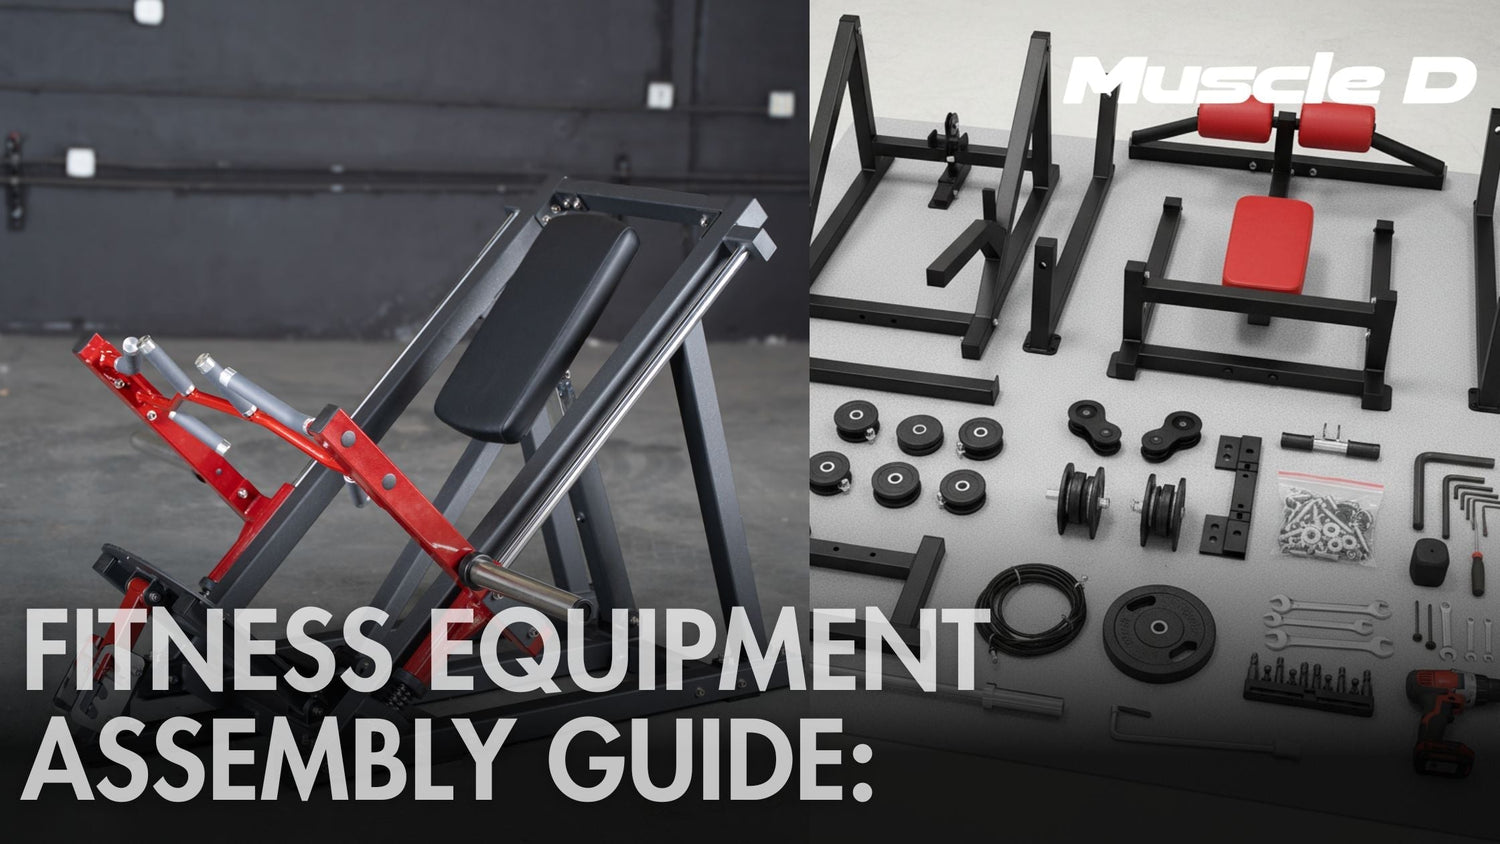
How to Assemble Fitness Equipment the Right Way: Simple Steps to Faster, Better Builds
Assembling fitness equipment doesn’t have to be frustrating. With the right approach, you can build machines that feel solid, operate smoothly, and last longer — without stripping bolts, crushing steel, or wearing out cables before their time.
Below are practical, shop-tested tips to make assembly faster, safer, and better.
Download PDF Version: Muscle D Fitness Equipment Assembly Guide
1. Start Every Build by Hand-Tightening Hardware

One of the most common mistakes people make is fully tightening bolts too early.
- Hand-tighten all hardware first. Get every bolt started by hand before you touch a wrench or impact gun.
- Let the frame “find” the floor. With everything hand-tight, you can shift and level the piece so all feet sit flat on the ground.
- Then tighten with a wrench or impact gun. Once the unit is level and square, go back and fully tighten all hardware.
Why hand-tightening matters
- Prevents Cross-Threading. If a bolt doesn’t go in smoothly by hand, something is wrong. Forcing it with a tool can destroy the threads in both the bolt and the nut.
- Improves Alignment. Tightening too early can twist the frame, causing wobble, misaligned holes, and noisy operation.
Pro Tip: If a bolt resists more than it should, back it out, check the threads, and try again. Never “power it through” with an impact.
2. Use Impact Guns Carefully — Don’t Over-Tighten

Impact guns can speed up assembly, but they can also cause serious damage if used incorrectly.
- Do not over-tighten hardware. Overtightening can crush the steel tube, deforming the frame and weakening the structure.
- Use the impact gun to snug, not crush. Bring the bolt close to tight with the impact, then finish by hand with a wrench if needed.
- Listen and feel. If the steel starts to flex or the bolt suddenly stops and the gun keeps hammering, you’re going too far.
Overtightened hardware can lead to:
- Crushed or warped tubing
- Misaligned moving parts
- Premature wear on bushings and bearings
When in doubt, tighten gradually and evenly across matching bolts (for example, on both sides of a frame) rather than cranking one side down all at once.
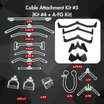
3. Cable Routing: Give the Cable Room to Breathe

On functional trainers and dual adjustable pulleys, cable routing is critical for smooth operation and long cable life.
- Leave 1”–2” of cable length at rest. The ball at the end of the cable should not be jammed against the steel shroud around the pulley.
- Avoid over-tightening the cable. If the cable is too tight, it adds extra stress and causes the cable to wear and break faster.
- Check the resting position. When the handle is racked and the machine is at rest, the ball at the end of the cable should be loose on the cable housing, not pulled tight.
This small amount of slack helps:
- Reduce constant tension on the cable
- Prevent the ball from digging into the shroud
- Extend the life of the cable and its coating
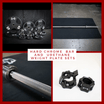
4. Match the Right Bolt to the Right Nut

Using the wrong hardware or forcing the right hardware into the wrong threads is a fast way to damage a machine.
- Confirm the bolt and nut match before tightening. Make sure you’re putting the proper bolt into the same size nut/threading.
- Always start by hand. Thread the bolt in by hand first to confirm it engages smoothly.
If it doesn’t:
- Stop immediately
- Compare the bolt to the others in the kit
- Check the assembly instructions for the correct size and location
This simple check prevents cross-threading and saves you from having to replace damaged hardware.
5. Keep Cables Seated Correctly on Pulleys and Cams

Cable position is just as important as cable tension.
- Make sure the cable sits firmly in the groove of the pulley or cam. It should not ride up on the edge or jump out of the track.
- Confirm cable retainers are properly placed. Retainers help keep the cable in the groove so it runs smoothly.
Proper cable seating ensures:
- Smooth, consistent motion
- Less friction on the cable coating
- Reduced risk of the cable slipping, binding, or cutting into the pulley
If you hear rubbing, grinding, or see the cable riding high on the pulley, stop and re-seat it before continuing use.
6. Lubricate Pulleys for Smooth, Quiet Operation

Pulleys that don’t spin freely put extra wear on cables.
- Always ensure pulleys are lubricated and spinning smoothly. They should rotate freely with minimal resistance.
- Check during assembly and periodically over time. A few seconds of inspection can prevent premature cable wear.
When pulleys don’t spin well:
- The cable rubs more in the pulley groove
- The coating wears faster
- The cable may fray or fail sooner than it should
Keeping pulleys clean and lubricated helps the entire system run better and last longer.
7. Expect Cable Stretch and Plan for Periodic Adjustment

Cables are not static components — they will stretch over time with regular use.
- Expect some cable stretch. As the machine is used, the cable housing and internal strands naturally settle and lengthen slightly.
- Plan on periodic tightening. Check cable tension regularly and make small adjustments so the system stays within the ideal range.
Proper, periodic tightening:
- Keeps the ball at the end of the cable in the correct resting position (loose, not jammed into the shroud)
- Maintains smooth, consistent resistance throughout the range of motion
- Ensures the cable is set for premium performance and longevity
Think of cable tension like tuning a musical instrument — small, regular adjustments keep everything performing at its best.
8. Expect Cable Replacement — But Make It Rare

Even with perfect assembly, cables are wear items.
- Over time, all cables will need to be replaced. That’s normal for any cable-driven machine.
- With proper care, you’ll replace cables less frequently. Good assembly and routine checks dramatically extend cable life.
Key habits that extend cable life:
- Proper slack (1”–2” at rest)
- Correct routing and seating in pulleys/cams
- Lubricated, freely spinning pulleys
- Avoiding sharp bends, kinks, or twisting during assembly
- Periodic tension checks and adjustments as cables stretch
Final Thoughts
Fast assembly isn’t about rushing — it’s about doing things in the right order with the right checks.
If you:
- Hand-tighten all hardware first
- Avoid over-tightening with impact tools
- Route and tension cables correctly
- Match bolts and nuts carefully
- Keep pulleys lubricated and cables seated properly
- Periodically check and adjust cable tension as it stretches
…you’ll end up with equipment that feels better on day one and stays safer and smoother for years.
A few extra minutes during assembly and routine maintenance can save hours of troubleshooting and years of unnecessary wear.


Dejar un comentario
Todos los comentarios se revisan antes de su publicación.
Este sitio está protegido por hCaptcha y se aplican la Política de privacidad de hCaptcha y los Términos del servicio.